Short answer: pick your best three to six projects, write a short story for each, put them in a template and publish. Most of the work is choosing and writing, not design.
1. Decide who it is for
Write one sentence: what you do and who hires you. Use it as your headline. It also helps you decide which projects belong on the site.
- Too vague: "Creative designer passionate about great ideas."
- Clear: "I design websites for small architecture studios."
2. Choose three to six projects
Pick the work you want more of. A short list of strong projects is easier to read than everything you have made. Check that you are allowed to show client work.
No client work yet? Use personal projects, or redesign something real and say clearly that it is a concept.
3. Write a short case study for each
- The client or goal, in one line.
- What you did, and what your role was.
- What changed after the work. Use a real result if you have one.
A simple outline you can copy:
- Goal: the bakery needed online orders before the holidays.
- My role: I designed the site and wrote the product pages.
- Work: three images and two sentences about the main decisions.
- Result: what changed, or what you learned if you have no numbers.
4. Prepare your images
Collect images before you open an editor. Use one size and style for project covers, so the list looks consistent.
- Show the work in use, not only flat files.
- Compress large images so pages load quickly on a phone.
- Give files clear names, and add a short text description to each image.
5. Pick a template
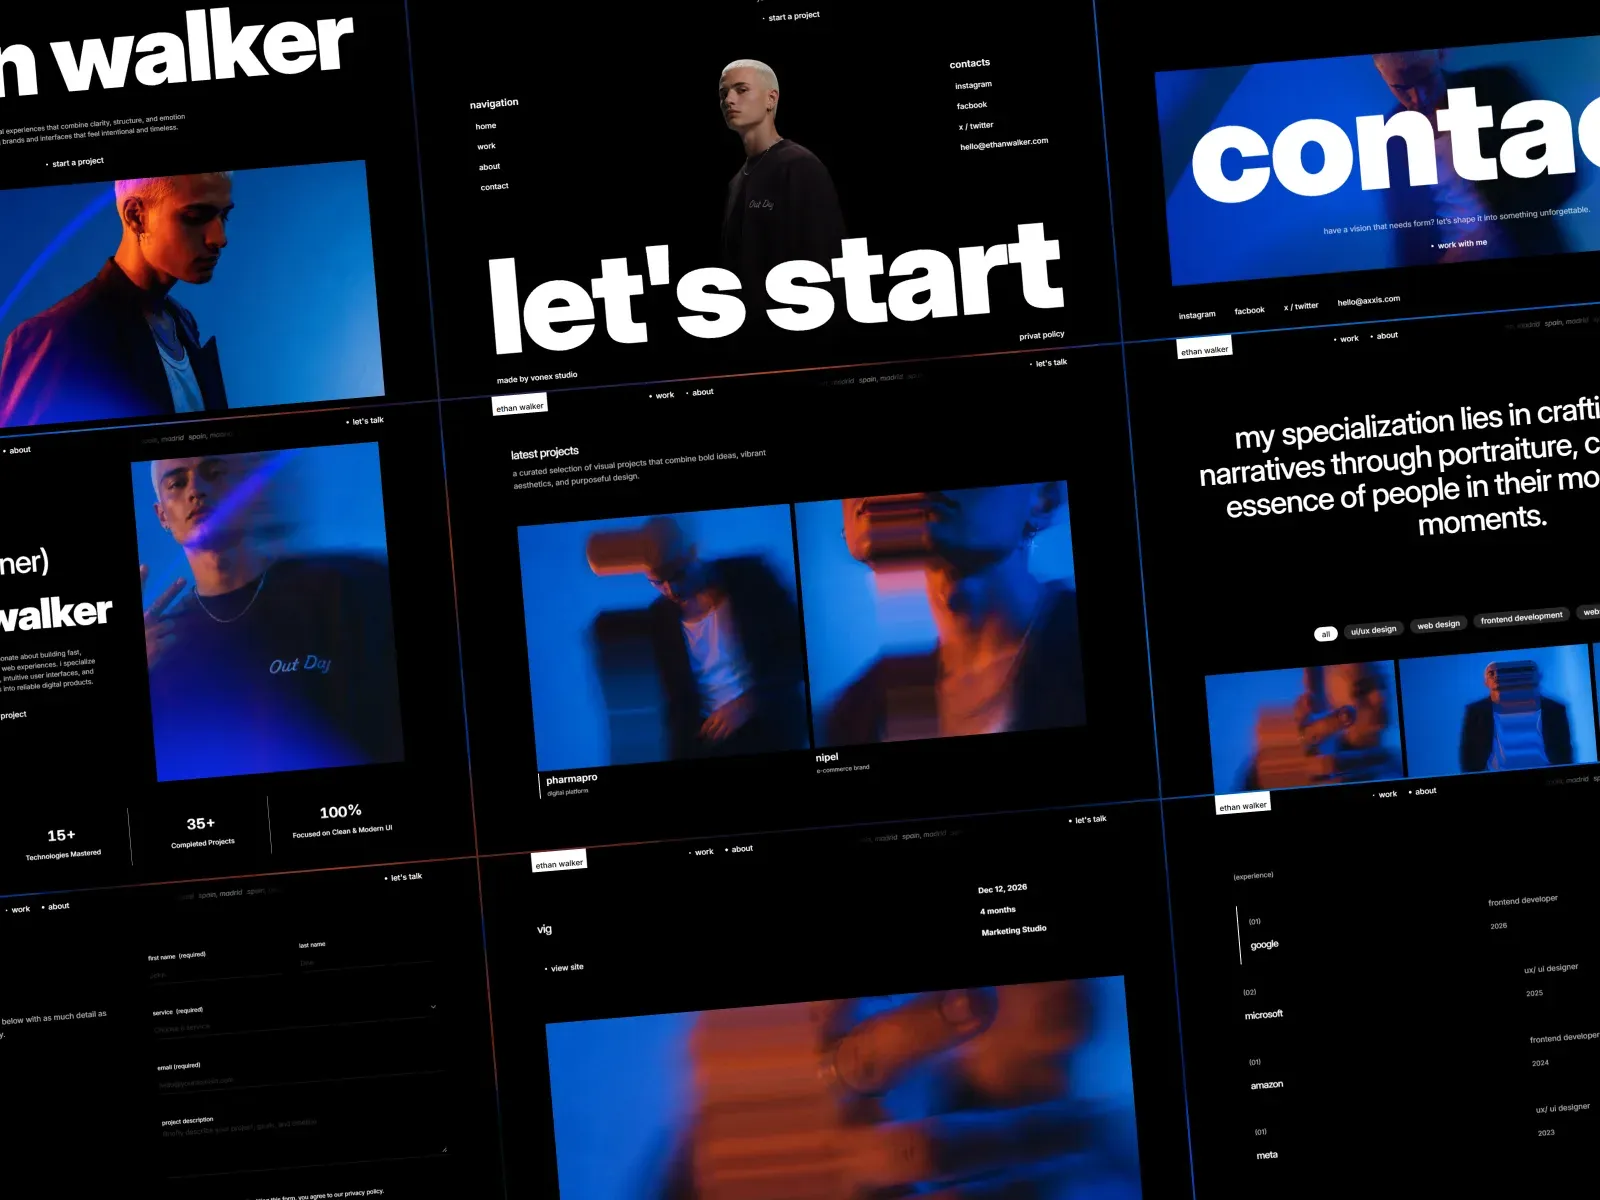
A template gives you the layout, responsive screens and project pages. Compare ourportfolio website templates. If you are not sure about the format, readFramer template or code.
Before you choose, check three things:
- It has project pages, not only a list of pictures.
- You can add projects later without rebuilding the layout.
- It still looks right with your images, not only with the demo ones.
6. Add an about section and contact details
Say what you offer, where you work and how to reach you. Keep one main contact option and show it on every page.
Write the about section in your own voice. Three short parts are enough: what you do, how you got here and what you want to work on next.
7. Check and publish
- Open every page on a phone.
- Test the contact form and every link.
- Write a page title and description for search.
- Connect your domain and publish.
For a Framer walkthrough, see how to build a portfolio with a Framer template.
Which pages you need
| Page | What it does | Needed? |
|---|---|---|
| Home | Says what you do and shows selected work | Yes |
| Project pages | Explain the work behind each image | Yes |
| About | Shows who you are and what you offer | Yes, or a home section |
| Contact | Makes the next step easy | Yes, or a clear email link |
| Blog | Shares your thinking | Only if you will keep it updated |
Final checklist
- The headline says what you do.
- Your strongest project comes first.
- Every project names your role.
- No placeholder text or demo images remain.
- The contact form reaches your inbox.
- A friend can find your contact details in ten seconds.
Need ideas first? See these portfolio website examples.